
It’s important to make sure you’ve got the right protective gear to complement the gnarly electric mountain bike set-up you’ve invested in.
Obviously, a helmet is vital, but the e-MTB protective gear doesn’t stop there. There are many other things we highly recommend to help keep you safe, which will give you the peace of mind to push yourself harder and ultimately protect you during a crash.
Join us, then, as we try out the best protective items out there in our e-MTB protective gear review…
Why is Wearing e-MTB Protective Gear Important?

E-MTBs are powerful machines, often with very punchy motors. Undoubtedly the speed brings risks and that’s part of the thrill of riding. However, coming off and hitting your head without wearing a helmet can prove fatal.
Making sure you protect your head is hugely important when tearing up the trails. Fortunately, fatal crashes are fairly rare. However, coming off an e-MTB and picking up an injury is common.
A Sport With Inherent Risk Attached
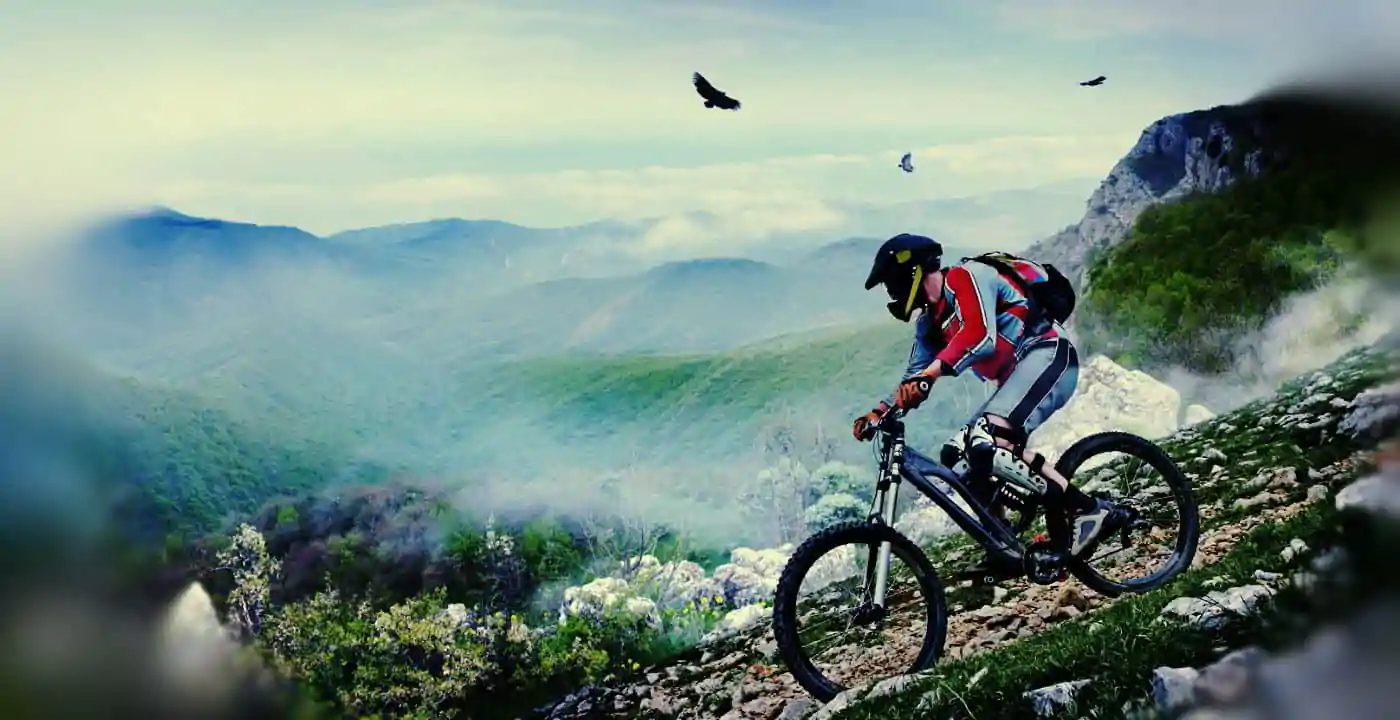
E-MTBing takes you to some wild terrain, through narrow tree-lined forests, down the side of steep mountains and big drops, and to the bike parks. All of these environments offer potential hazards and the likelihood of having a fall or slide out is high, even for experienced riders (who inevitably take on even wilder routes).
The rest of your face, arms, legs, hands, torso, feet and pretty much every other area of your body is therefore susceptible to an impact. That means you need to make sure you take precautions. So, the question is – what should I wear to e-MTB?
Helmets
There are numerous types of helmets you can wear while out mountain biking, all which offer something slightly different, and which are better-suited to different styles of riding.
Open Face Helmets
Who for: Simple trail rides, forest roads, family rides
These are the most traditional and offer simple head protection, without offering more around the face.
These are best-suited to simple trail riding and cycle touring, where you aren’t taking on particularly dangerous terrain.
These will offer sturdy protection if you fall off and bang your head, but aren’t designed to be worn when out on gnarly terrain with steep descents or super technical trails.
One of the beauties of having an open-faced helmet is the breathability, without anything covering your nose or mouth.
Make sure you get the right size to ensure it covers your head properly and consider getting an extra protective liner, to offer an added layer of support.
Peaks:

- Breathability
- Comfort
- Light
- Visibility
Troughs:

- No face protection
- Not recommended for technical riding
- Can wobble about


Full Face Helmet
Who for: Downhill riders, bike park, technical and gnarly terrain
E-bike full face helmets offer the highest level of protection you can get for your head and face. They cover not only the top and side of your head, but include a protective piece around your jaw and chin, with space for your goggles to protect your eyes in the middle.
They’re very robust and designed for full-on riding, such as downhill, bike parks and technical trail riding, where you might come off at pace and fly forwards. They slip on similarly to a motorbike helmet and offer a lot of stability, staying firm to your head and without moving about.
They can, however, get very sweaty inside and can become uncomfortable when you’re out on a long ride. They also weigh quite a lot in comparison to their open-faced counterparts.
Peaks:
- High level of protection for face and head
- Sturdy
- Good support and stability
Troughs:
- Heavier weight
- Can get uncomfortable and sweaty
- Visibility marginally worse


Convertible Helmets
Who for: Cross-country, enduro, climbs and descents
A convertible full-face helmet is essentially an open-faced helmet, which includes a removable section around your chin and jaw.
This means it can be clicked in when you’re heading into some more tricky and dangerous terrain, such as downhill routes, but can be removed when you’re on a slow incline or on a flat, easy section.
This helps improve breathability on the inclines and gives you a strong level of protection on the downhills. It also gives you a break from wearing the often-claustrophobic full-face element.
ℹ️ As before, if you want to hit up the gnarly downhill routes, make sure to get a downhill-certified convertible helmet. Not all helmets with removable chin strap elements offer full protection, which you need for serious downhill riding, however, some do, and those helmets will get a certified stamp.
Peaks:
- Versatile
- Breathability
- Strong
- Multiple types of riding
Troughs:
- Not all offer good protection
- Some can be expensive
- Faff to swap


New-Age Open Face Helmets
Who for: More ambitious general trail riders, single track
These are fairly new to the e-MTB market and offer similar levels of breathability to the traditional open faced helmet, but also come down further around the back of your head and around the ear/temple.
These offer a heightened level of protection if you fall off sideways or off the back of the bike. It’s one step up from the open face helmet, but certainly not as safe as the full-face downhill helmet. These offer good levels of ventilation and good visibility.
Peaks:
- Added side of head protection
- Breathability
- Good visibility
Troughs:
- No full-face protection
- Not for downhill riding


Knee Pads
Knee impact injuries are amongst the most common while out e-MTB riding, which makes knee pads another essential item of mountain bike protective clothing.
From bashing off trees and obstacles as you pass, to impacts as you slide off or when you fall from a height. Knees take a pasting on the trails and need to be protected.
There are two standards of knee pads – level 1 and 2, with the latter offering the highest level of protection.
Choosing which standard you go for depends on the type of riding you’ll be doing. We recommend level 2 pads for downhill riding, bike park riding and technical riding. Level 1 will do for normal single-track riding and standard loops.
Level 1 Grade | Lightweight Knee Pads
These pads offer more comfort and flexibility, which is key when climbing and on twisty single-track routes.
They’re also more comfortable over long-distance, easy to slip on and usually have a layer of memory foam to shape round your knee and offer maximum absorption.
Peaks:
- Flexibility
- Breathable
- Comfort
Troughs:
- Not good for downhill
- Not the strongest


Level 2 Grade | Ultra Strong Pads
These have the under layer of the level 1 grade knee pads, but also have a strong plastic outer shell, which gives you a heightened layer of protection.
These are for the serious downhill riders, bike park riders and people taking on very technical, fast-moving routes.
They often come round the side of the knee and have straps to firm them down strongly under your foot. They aren’t the most comfortable, though, and aren’t flexible or nimble for climbing.
Peaks:
- Strong
- Can take heavy impact
- Downhill focused
- Side knee protection
Troughs:
- Flexibility
- Poor for climbing
- Can get hot


Elbow Pads
Along with knees, elbows are very susceptible to knocks and injuries while out riding. It’s very common to slip off sideways and your elbow is often the first point of impact with the ground. Like knee pads, you can get two gradings of elbow pads, both level 1 and 2.
Level 1 Grade | Lightweight Elbow Pads
These are great for general trail riding, single track riding and can be decent for downhill riding, if they’re fitted with a durable memory foam.
They offer a great range of movement, often comfortable and easy to slip on and off, but they don’t have that serious strength layer of outer shell.
Peaks:
- Manoeuvrability
- Comfortable
Troughs:
- Can’t take the biggest impacts


Level 2 Grade | Ultra Strong Pads
Like the ultra-strong knee pads, these come with a hard plastic outer shell, over the top of the memory foam-style layer.
These can take serious impact and can be important for downhill riders or big jump park riders. However, flexibility is reduced and they can sometimes get in the way.
Peaks:
- Strong
- Durable
- Can take big impact
Troughs:
- Uncomfortable
- Flexibility reduced
- Can get hot


Gloves
Gloves are a must while out riding.
Not only do they offer you an added layer of grip, thanks to rubber bumps on their palm and fingers, but they can also offer a small layer of protection if you snag your finger on a tree or come down hard on your hand.
There are two different types – summer and winter/full-finger gloves.
Summer Gloves
These offer good breathability and maximum dexterity. They’re great for simple trail riding, long days out on cross-country style routes and best in hot conditions. However, they don’t offer great protection in falls and you can get cold hands in winter.
Peaks:
- Breathability
- Flexibility
- Heat management
Troughs:
- Not a great layer of protection during impacts
- Cold in winter


Full-Finger Gloves
These are important to wear if you’re going through more technical terrain, where the risk of knocking your fingers or coming off is heightened – such as through tight tree lines.
The full finger gloves prevent you snagging your fingers and offer a heightened level of grip. However, the thicker they are the less dexterity you have and your hands can get very hot, particularly in summer.
Peaks:
- Heightened protection
- More grip
- Warmth
Troughs:
- Manoeuvrability
- Heat


Back and Torso Support
These look a little like stab-proof jackets and slip over your head like a lifejacket. They have solid plates in the back and chest area, to help protect you from big impacts.
These are only really necessary if you’re a serious downhill rider or taking on bike parks, dropping from big heights, etc.
They aren’t necessary for most other e-MTBing disciplines and therefore aren’t good mountain bike protective clothing items for most riders.
Peaks:
- Can take big impacts
- Support on spine
Troughs:
- Manoeuvrability
- Heat
- Uncomfortable
- Expensive


Final Thoughts
Protecting yourself out on the trails is just plain common sense. We want to see you having the time of your lives out on an e-MTB and we know many riders want to push their limits. Having the right e-MTB protective gear allows you to do that.
Not only does protective gear help look after your body during impacts and crashes, but it also gives you increased peace of mind – allowing you to take on those gnarly lines, go faster and be more ambitious with your riding.
Think long and hard about the type of riding you’re likely to be doing and then use our guide to help lead you to the right protective e-MTB gear. There are some fantastic products out on the market and we’ve given you a nudge in the right direction.
Now get the appropriate stash and hit those trails.