You’re going to struggle to reach maximum performance out on the trails without getting tyre pressure right for your electric mountain bike. Fortunately, tyre pressures are really pretty simple, so you won’t have to dig too hard to uncover their secrets.
For the longest time, people thought that keeping your tyre pressure high was enough to get good performance, but thanks to years of engineering, we’ve discovered that the ideal pressure to get the most out of your wheel actually ranges from situation to situation, and it doesn’t necessarily have to be high – this is especially important if you’re running niche styles like fat tyres.
Most mountain bike riders will run their MTBs between 22 and 25 PSI (depending on personal preference and trail variables). However, as we’ll discuss, when it comes to electric mountain bikes, riders often pump in a little extra pressure due to additional weight. But more on that later. First, though, let’s examine the difference between higher and lower tyre pressures.
Higher Tyre Pressure vs Lower Tyre Pressure

Tyres that are pumped up to high pressures suffer less wear, and their lesser rolling resistance translates into an easier time maintaining speeds, so why wouldn’t we push a tyre to its upper limit?
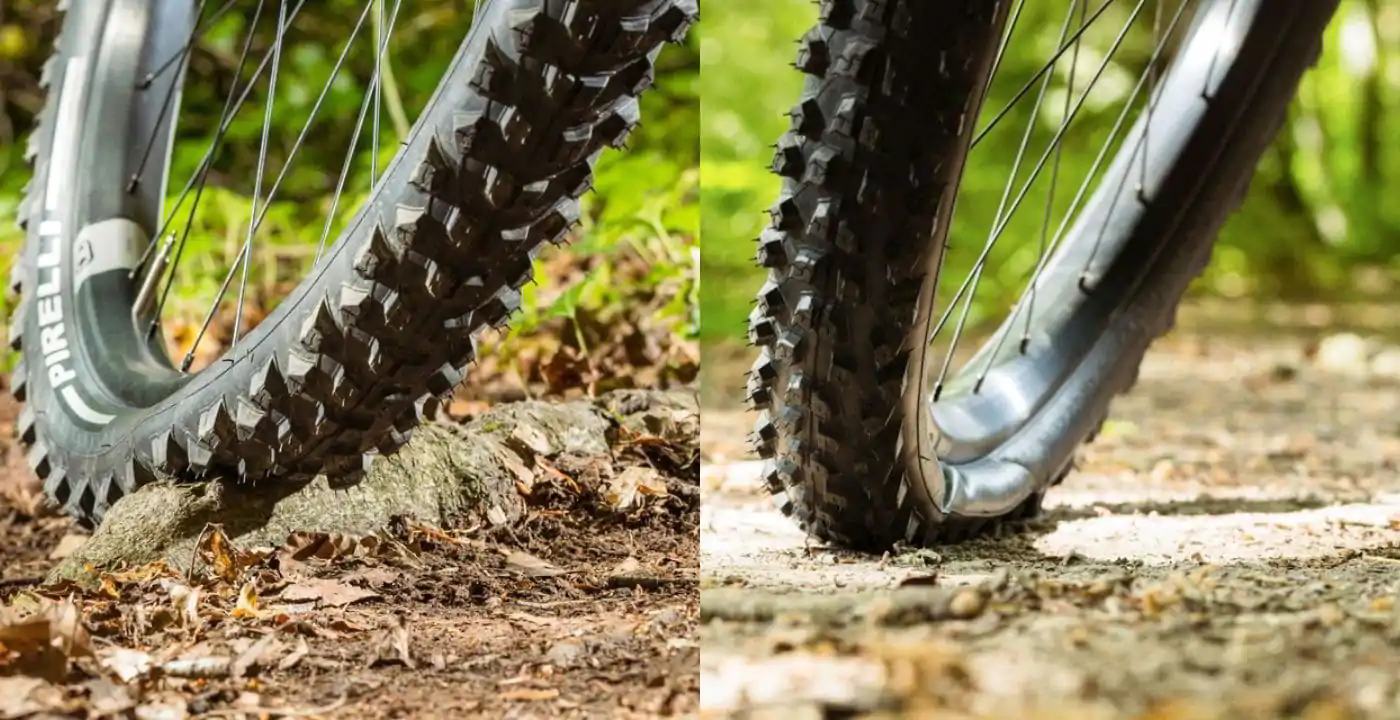
Well, the answer is that maintaining speed is only one aspect of performance; lower tyre pressures can absorb the shock of obstacles more easily, resulting in a smoother ride, as well as increased friction (and thus grip) through the increased surface areas from their depressions.
This explains why road bike wheels, which are designed for contact with uniform surfaces, tend to have higher tyre pressures. Mountain bikes, on the other hand, which deal with bumpy trails and slippery surfaces, typically opt for the grip and smooth ride that lower-pressure tyres confer.
Risks of Getting the Wrong MTB Tyre Pressure
Having the right tyre pressure on your mountain bike is crucial for both performance and safety. If the pressure is too low, then the tyres can lose contact with the ground, reducing traction, and in turn, increasing the risk of a crash.
On the other hand, if the pressure is too high, then the tyres will be less able to absorb impacts and the rider is more likely to lose control. Risk also extends to the tyres themselves. Both low and high tyre pressures can lead to increased puncture and tear risk, so keeping your tyre pressure properly maintained is important for longevity.
Is Electric Bike Tyre Pressure Different?
The fundamentals of tyre pressure are the same whether you’re on an e-bike or a regular bike, but you’ll want a little extra pressure due to the extra weight of an e-bike. Mechanically, tyre pressure may work the same, but the addition of an engine can shift our priorities.
For instance, take a rider who’s going on a short trail in the rain. Having a low rolling resistance becomes less important because the battery isn’t likely to drain on a short trail, but due to the rain, friction becomes much more valuable, and so a lower tyre pressure becomes optimal.
Another rider, looking to get as much range as possible out of their bike, is going to be more inclined to pump up their wheels as much as they can safely, just for that slight edge on capacity. Obviously, these are idealised cases, but they demonstrate the point that having a motor affects how we view optimisation, even if the underlying mechanics remain the same.
Tubeless vs Tubed Tyre Pressure
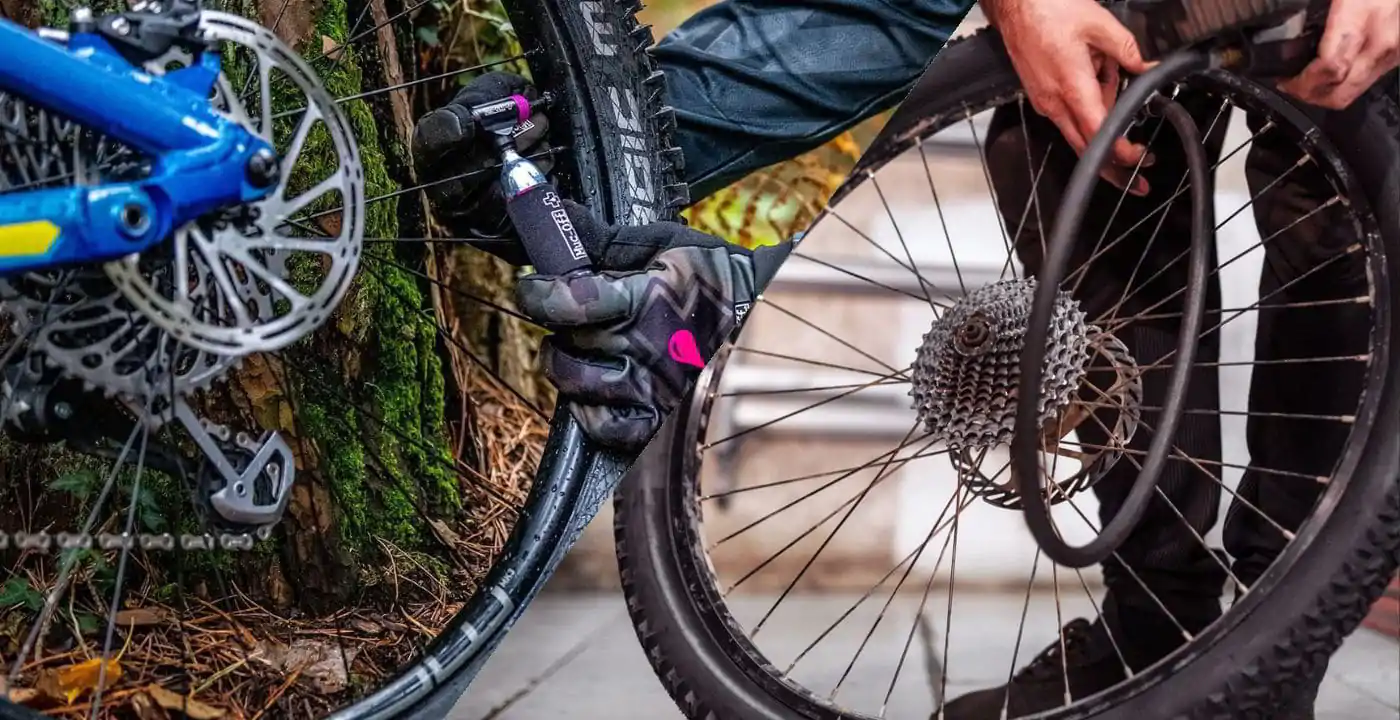
As you might guess, whether a tyre is tubed or tubeless makes a world of difference for tyre pressure, with the latter requiring higher pressures to get the best performance and durability. Tubed tyres have an inner tube made of rubber that is filled with air and sealed inside the tyre. This tube is what holds the air pressure and allows the tyre to be inflated.
Tubeless tyres, on the other hand, have no inner tube, and instead, make the tyre itself airtight, so it can be mounted directly onto the wheel rim. The tyre is then filled with air through a valve in the rim. These differences in construction lead to different reactions to punctures; when a tubed tyre is punctured all the way to the inner tube, they begin to leak air which can be potentially dangerous and leads to flat tyres.
Tubeless tyres don’t suffer from this problem, because the tyre sealant automatically blocks off any airflow, making the tyres much more resistant to punctures. Even though tubeless tyres can circumvent some of the problems of having the wrong tyre pressure, it’s still important for the sake of performance.
There’s little difference in the recommended tyre pressures between tubed and tubeless, but tubeless are slightly more tolerant to lower pressures, so it’s not uncommon for tubeless riders to let just a little air out before riding.
What Pressure Should My Mountain Bike Tyres Be?
As much as we wish there was, there’s no one mountain bike tyre pressure we can reel off that offers the perfect PSI for your wheels; there are simply too many variables between wheels, riders and the types of trails you’re riding.
That said, as we touched upon in the introduction, most riders will run their MTBs in the range of 22-25 PSI, but again, you’ll need to take into account your specific riding variables. Finding your perfect pressure requires experimentation, but there’s no need to pull out the test tubes, we’ve got some simple steps to point you in the right direction.
Look at the Manufacturer’s Specifications
The first port of call is what you’d expect, the manufacturer’s specifications, and these are usually printed on the side of the wheel. Electric bike tyres are generally in the same ballpark as regular tyres, but with a slight bit more pressure due to the added weight, just as you’d adjust for a heavier rider.
Pump Up to the Max
Pump up your tyres to the maximum of the specified range, and then go for a quick test ride. If you find that it’s a bumpy ride, drop the pressure by 2-3 PSI. Repeat this until you either find a level that seems comfortable, or notice instability at higher speeds or whilst turning.
Noticing Instability?
If it’s comfortable, that’s great, you’ve found a good baseline for your bike, but if you notice instability, then it means you’ve lowered the pressure slightly too much, so increase it in smaller steps than you had been decreasing the pressure.
Use the Same Pressure Gauge!
At the end of this, you’ll have reached your baseline, so take note, and you won’t have to worry about finding it again in the future. Also, keep in mind that not all pressure gauges are the same, so you’ll want to use the same gauge every time.
Best PSI for Mountain Bike Tyres by Terrain
There are a million ways to ride, which means there are a million different answers to the best pressure for mountain bike riding, and that brings us back to what we called your “baseline” pressure.
Your baseline pressure is a great, all-purpose pressure to use as your basis, but you add another layer of complexity when you get into the realm of different terrains and weather conditions. Fortunately, the changes to make for the best performance work the same for every kind of wheel and every kind of bike.
Technical and Rocky Rides
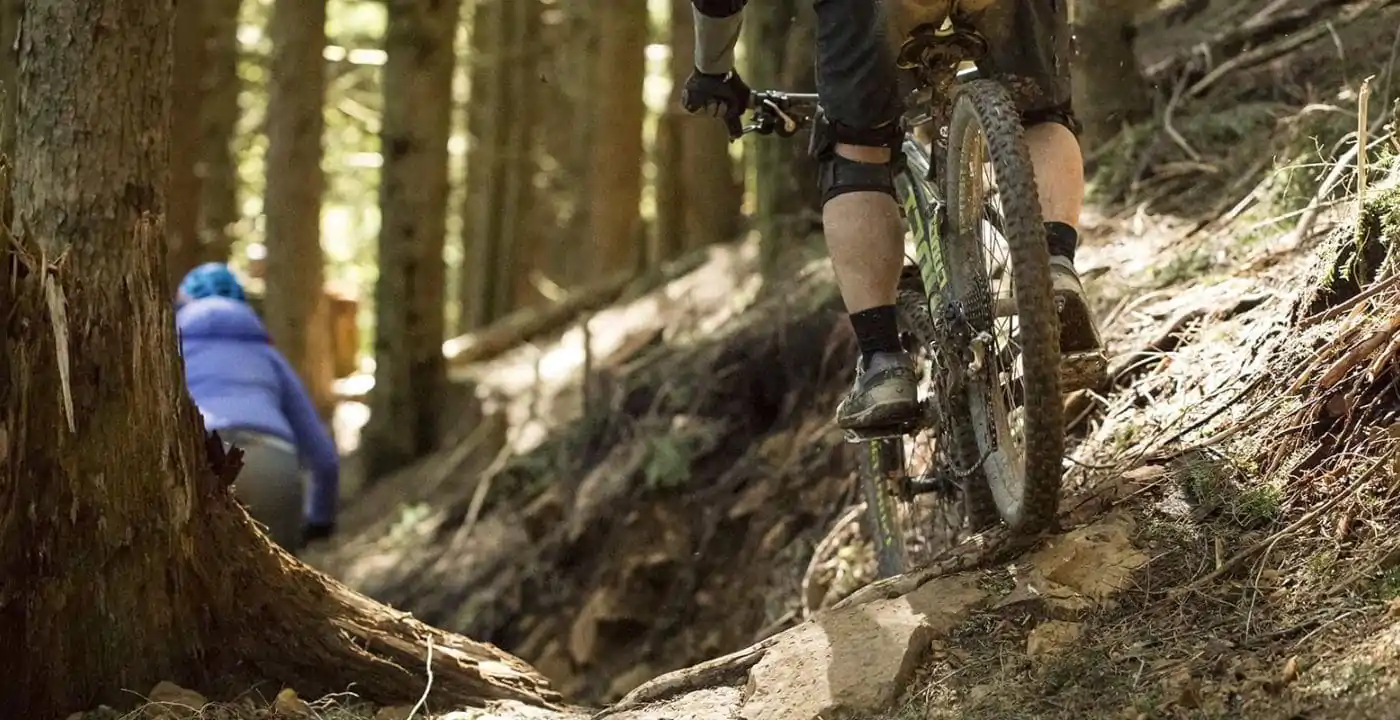
If you’re setting out on a more technical/rocky ride, you’ll definitely want to let some air out of your tyres; the widened contact patch will give you more grip, and it’ll smooth out the bumps of the ride, so you’ll have more control when things get rough.
Slippery Weather and Terrain
Slippery conditions are much the same, whether that’s from wet, sandy or any other kind of loose conditions. The gold standard here is traction, and as you probably know by now, that comes from running at a lower pressure, so feel free to deflate your tyres slightly.
Smooth Trails
A smoother trail isn’t going to give you the same need for friction or resistance to bumps, so it’s beneficial to up your pressure, resulting in less rolling resistance – AKA less power used by your legs or your motor.
Frequently Asked Questions (FAQs)
How Often Should I Check My Tyre Pressure?
If you want consistent riding results, then you should be checking your tyres about once a week. It’s also a good idea to check your tyre pressure before any long rides, or rides on rough terrain, to ensure that you don’t have to deal with performance problems.
How Do I Check My Tyre Pressure?
Checking your tyre pressure is easy and can be done with a tyre pressure gauge. Simply remove the tyre valve cap, attach the gauge to the valve, and read the pressure on the gauge. It’s best to check the pressure when the tyre is cold because pressure can rise as the tyre warms up whilst riding.
What Should I Do if My Tyre Pressure is Too Low or Too High?
If your tyre pressure is too low, then you can add air to the tyre by using a bike pump. It’s important to add air slowly and to check the pressure frequently to avoid overinflating the tyre.
If the tyre pressure is too high, then you can release some air by pressing the tyre valve stem with the tip of the tyre pressure gauge or by using a tyre pressure release valve. Take care to avoid releasing too much air at once, because this can cause the tyre to lose its shape and may damage the tyre or the rim.
What Now?
The choice is all yours! Are you going to be descending on those rough, technical trails on some low-pressured wheels, or pump them up for a light ride on a smooth, scenic route? With your newfound knowledge of tyre pressure, you have the key to go anywhere and keep your performance high, all you need is a pump and a set of wheels. So, what are you waiting for?
