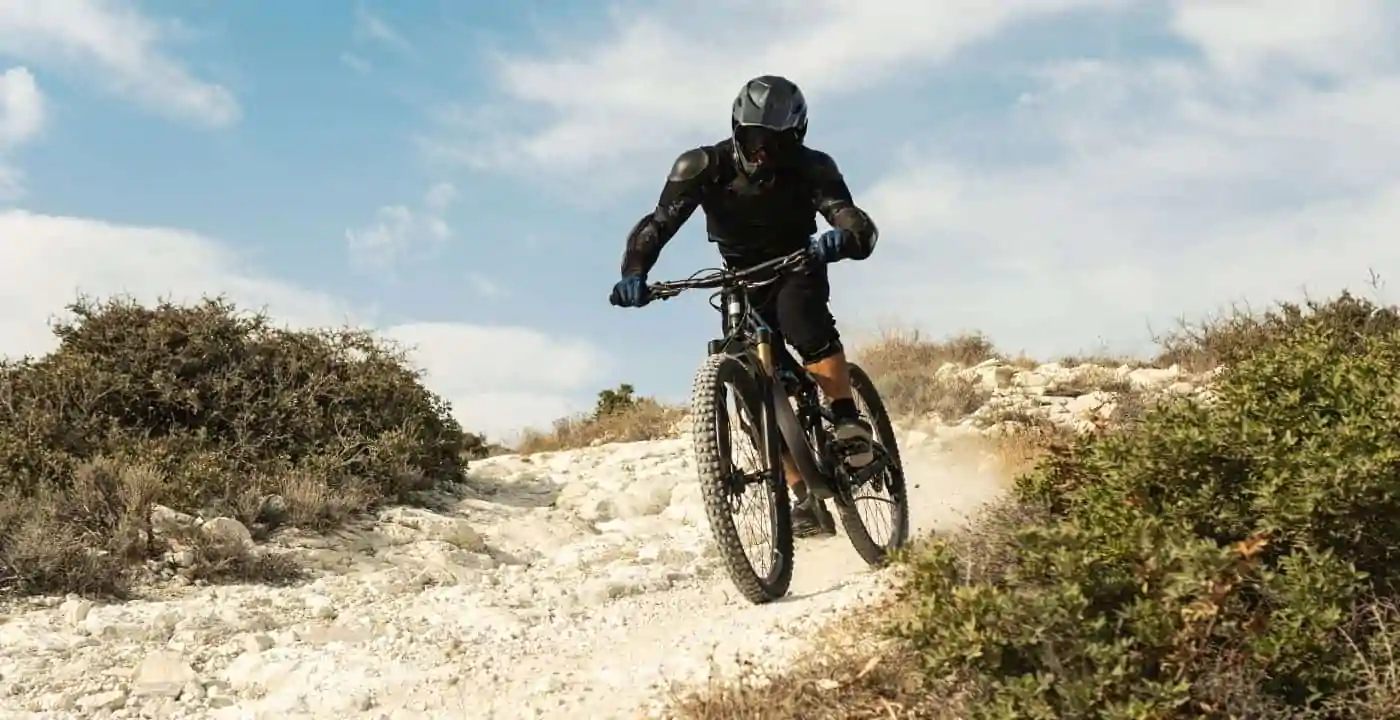
E-mountain biking is an incredible sport and past-time, taking you to stunning locations and out into beautiful nature. However, it’s fraught with potential hazards, which it’s important to be aware of and prepare for.
Looking after both you and your bike while out riding is hugely important. A few simple measures can make a big difference, help elevate your riding experience and avoid any unwanted accidents, injuries or pains in the backside.
In our top safety tips guide we’ll lay out all you need to know – so you can have a nice smooth day out on the trails and avoid any unnecessary headaches…
Top e-MTB safety Tips:
- Wear protective clothing – helmet/pads etc.
- Bike maintenance
- Pre-ride bike checks
- Research your route
- Water & nutrition
- Learn key riding techniques
- Know your ability level
- Emergency planning
- Look at the weather forecast
- Ride with friends
Have the Right Safety Gear
One of the most important aspects to consider before heading out on a ride is to have the right safety gear. E-MTBs can move at a serious pace and you’re often tackling some very gnarly environments with big drops, lots of trees, rocks, roots and other potential hazards.
A crash without the right safety gear can lead to a serious injury and could potentially be fatal.
What e-Bike Safety Gear Do You Need?
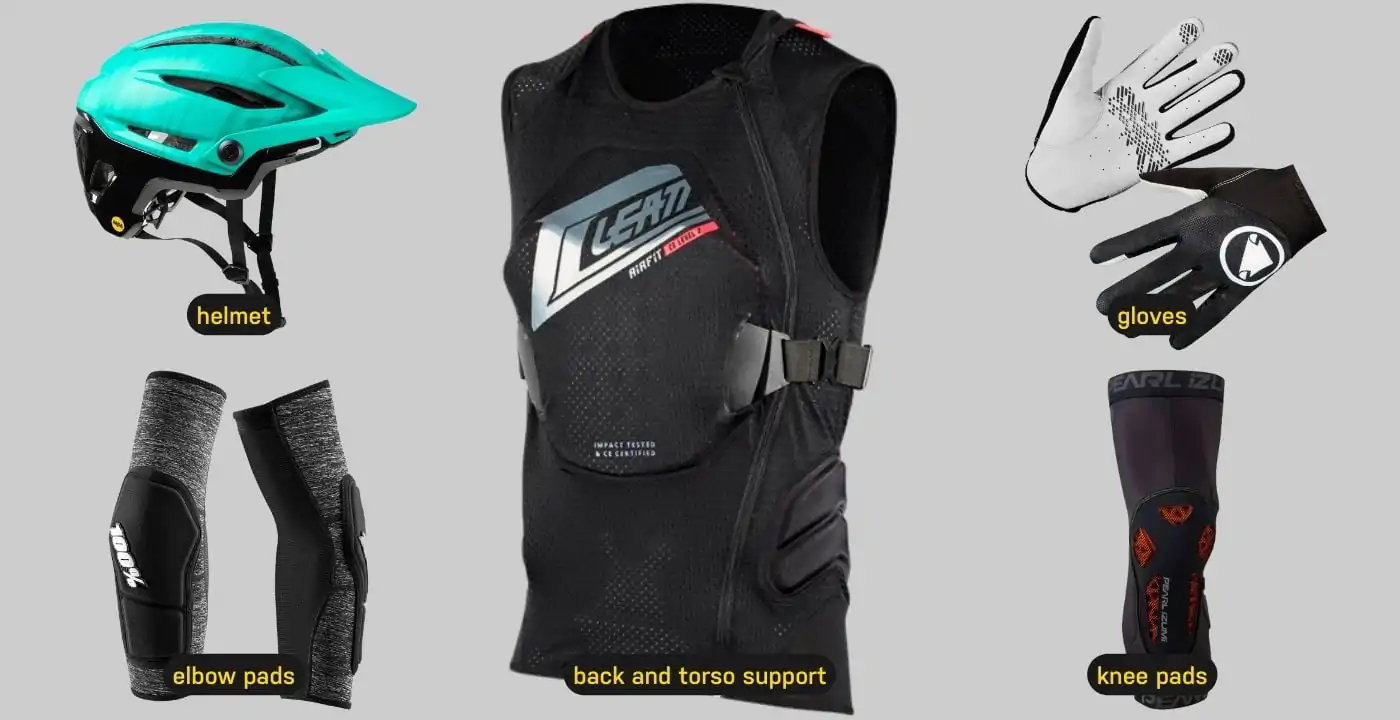
Helmet
You absolutely need a helmet while out riding an e-MTB. There are four different helmet styles, which are suited for different types of e-MTB discipline.
You can wear:
- Traditional open faced helmets (general trail riding and forest roads – beginner and easy trails).
- New-age open face helmets (more advanced trail riding, but still moderate in standard).
- Full face helmets (for downhill riding and the gnarliest terrain).
- Convertible helmets (for mixed terrain where descent isn’t the sole focus, but you can take the chin strap on and off for the gnarly sections).
ℹ️ If you’re wondering whether you can use any display for an e-bike? The answer is no – the technology in many e-bike displays a is linked and paired to the motor you have selected.
This unfortunately means if you select a bike with a certain motor, which has a poor display setup, you’re stuck with it.
Knee and Elbow Pads
There are various standards of knee and elbow pads, which are designed for different levels of ability and terrain; Level 1 and Level 2 grade.
Level 1 grade pads are more lightweight and better for easier terrain or where you might be taking on a lot of climbing and need breathability.
Level 2 grade pads are much more heavy duty and have a hard plastic outer shell – these are designed for downhill riders and bike park riding, on trickier terrain.
Gloves
These come either as fingerless or full-hand; which you choose depends on weather conditions or terrain.
Back and Torso Support
These hard, plasticated pieces of kit go over the torso, as part of a riding top. These offer serious protection and are worn by riders on the wildest downhill routes and most challenging terrain.
You can read our full review of all the best e-MTB protective clothing items, here.
Look After Your Bike
Your bike is precious like your body. Make sure to look after it and be kind to it. Regular maintenance is absolutely key to ensuring you have a smooth day out on the trails – if you don’t, you might find your bike suffering wear and tear.
Things to check:
- Clean your bike after every ride.
- Use a bike lube to grease up your chain and gears.
- Regularly check your tyre tread for any wear and tear.
- Check your seat height is right – this will help avoid injury and pain.
- Check your suspension regularly and lube appropriately if it feels stiff.
ℹ️ Store your bike in a good environment – don’t leave it out in the elements for too long or leave it near salt water for a long time. Both will cause wear and tear, including potentially rust.
Check Your Bike Setup Essentials Before Riding
A day in the saddle can change elements of your bike setup, which might mean when you come back to it for your next ride, it isn’t how you initially set it up. Time also leads to natural wear and tear.
What to Keep an Eye Out for
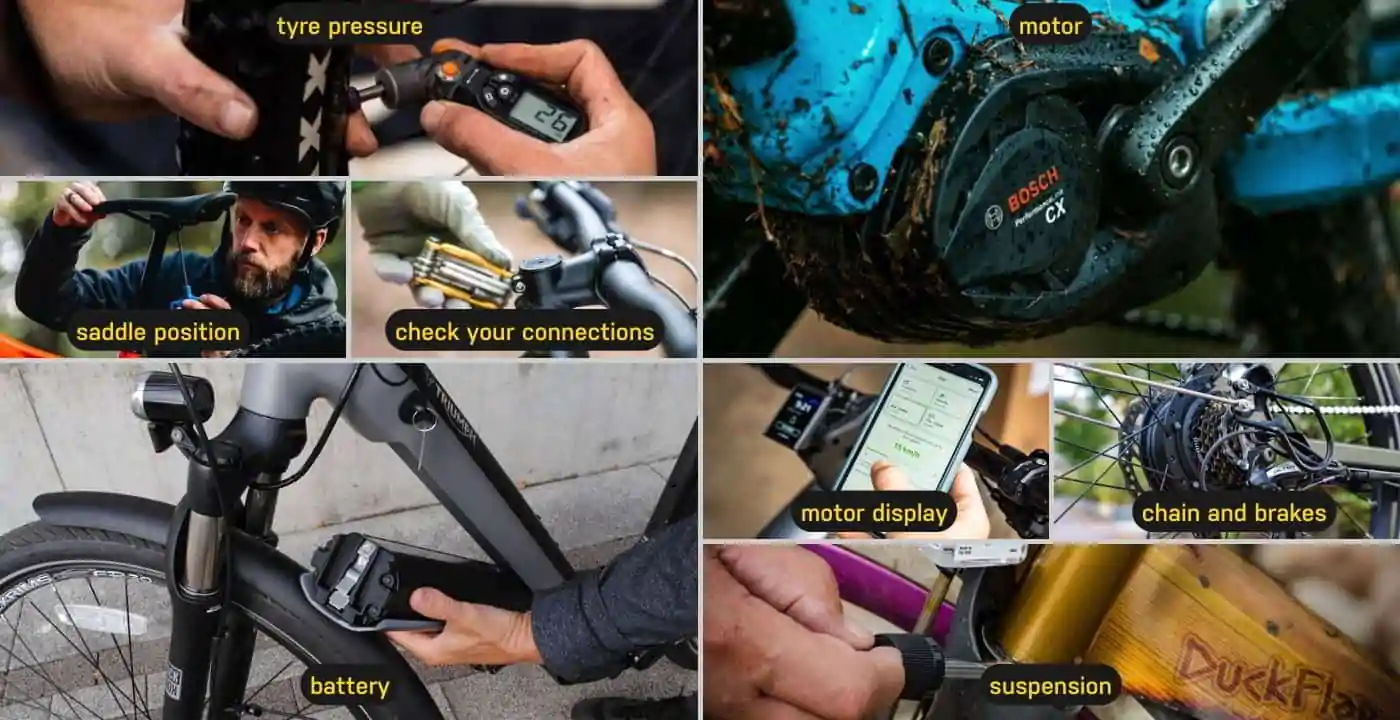
- Tyre pressure: make sure your tyre pressure is as you need it for the day’s riding. Air can seep out in storage or during impacts when out riding.
- Saddle position: check your saddle position to avoid pains or injury when out riding. The saddle position can move about over time or due to impacts when riding.
- Check your connections: an e-MTB is made up of many different nuts and bolts – tighten up any loose or shaky bits on the bike.
- Battery: make sure your battery is charged up and ready for action. E-bike battery safety ensures you don’t run out of steam on the trails.
- Motor: make sure your motor is working as it should.
- Display: is your display working and phone working if you need it? If it isn’t you might struggle to know how much battery percentage you have left or lose your GPS signal.
- Chain and brakes: make sure your chain, cassette and brakes are all lubed up and smoothly working. If shifting or braking feels creaky or there is any grinding noise, lube them up.
- Suspension: make sure the suspension is moving smoothly, if not, lube it up.
Research Your Route
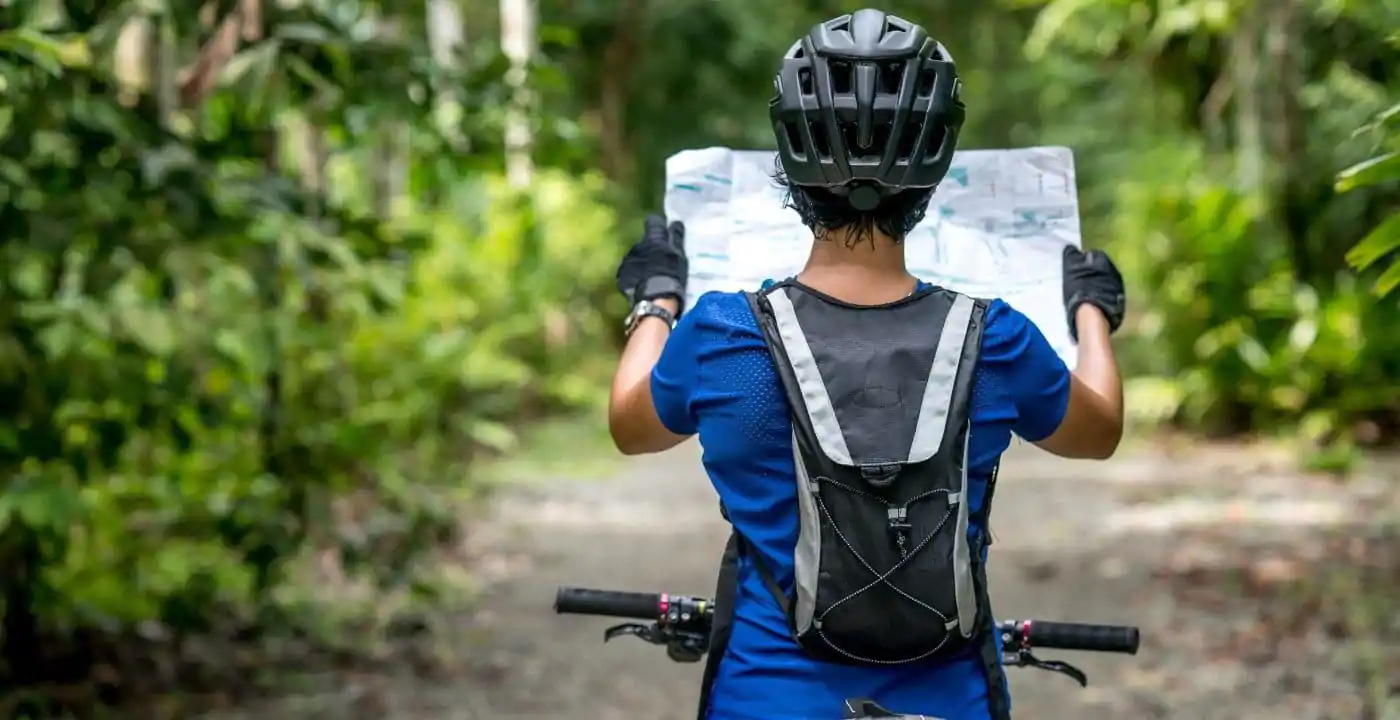
Understanding where you’re heading out to is hugely important to make sure you don’t come unstuck while out riding. Make sure to have maps with you – be that digital or physical maps – and understand the type of terrain out on the route.
Is it descent-focused, and are you/your bike capable of that/prepared for that? What are the ground conditions usually like there? Are there many local amenities nearby in case of a food or drink emergency?
Where might the nearest help be if you have a problem? You can find out a lot of information online by researching properly – if you head out blind you could end up finding yourself in a tricky position, miles from help and without a back-up plan.
If you can’t find out by a simple google search, look up online biking forums or call local nature reserves/organisations who might operate in that part of the world.
ℹ️ Also check whether your route is e-MTB friendly, not everywhere in every nation allows e-MTBs – are you allowed to be there? Respecting those around you in the countryside is important, too.
Learn Key Riding Techniques
It’s natural to get your first e-MTB and just want to get out there and rip up the trails. However, pause for a second and learn a little bit about the sport you’re taking up. Watching a few online tutorials or going for a short introductory e-MTB skills session at a local training centre is a great way to learn the ropes.
Here are some key e-mountain biking safety skills:
- Clips – if you’re using clips on your e-MTB, make sure you figure out how to clip in and out the pedals. Nothing worse than not being able to free your foot and toppling over.
- Relax on the bike – being too rigid (locking out your elbows & knees) can lead to crashes. You want to feel relaxed and fluid, with a bend in your elbow and knees.
- Eyes on the trail ahead – looking down the whole time means you’re not aware of what’s coming up and can lead to crashes. Keep that head up and scanning the trail ahead.
- Steady braking – there’s a temptation to pull hard on the brakes in an emergency, but this can cause a nasty crash. E-MTB brakes are powerful, use them steadily and early.
- Understand how to fall safely – learn how to bail out without causing yourself too much damage. Try and separate yourself from the bike if possible and get a foot down early to prevent a bigger crash.
You can read more about our top mountain biking tips in this article.
Know Your Level
Understand your current level of ability and don’t try and show off – this helps ensure e-bike safety. There are different gradings of trails which represent different standards of ability – green (beginner/easy), blue (moderate), red (difficult/experienced), black (expert) and purple (pro).
Stepping too far out from your ability level too early can lead to serious accidents. The trail grading system is there for your safety and for the safety of other riders around you.
Be Prepared for Emergency Situations
Make sure you prepare for the worst when going out riding and have measures in place to help keep you safe. Our top e-MTB safety tips for emergency situations:
- Medical kit – make sure you have a first aid kit with you – including things such as plasters, paracetamol, some bandages, antiseptic spray or wipes, an emergency blanket and a mini ice pack.
- Take a phone with you.
- Tell a friend/family member where you’re going out riding. This way, they know roughly the area you might be in an emergency.
- Take some money with you.
- Research where your nearest help might be.
- Take sun cream with you.
- Take warm clothing & some waterproofs with you in case the weather turns and it gets cold quickly.
- Learn basic bike repairs – how to repair a puncture, fix a broken chain or sorting out a bent derailleur.
Hydration and Nutrition
Ensure you have enough water and food with you for the length of ride you’re taking on. Running out of water can be very dangerous and not having enough food can lead to bonking, where you run out of energy and get a horrible sapped feeling.
Take food and water on your ride, but also have some cash and a bank card with you, so you can top up at a local shop or café in an emergency.
Ride With Friends
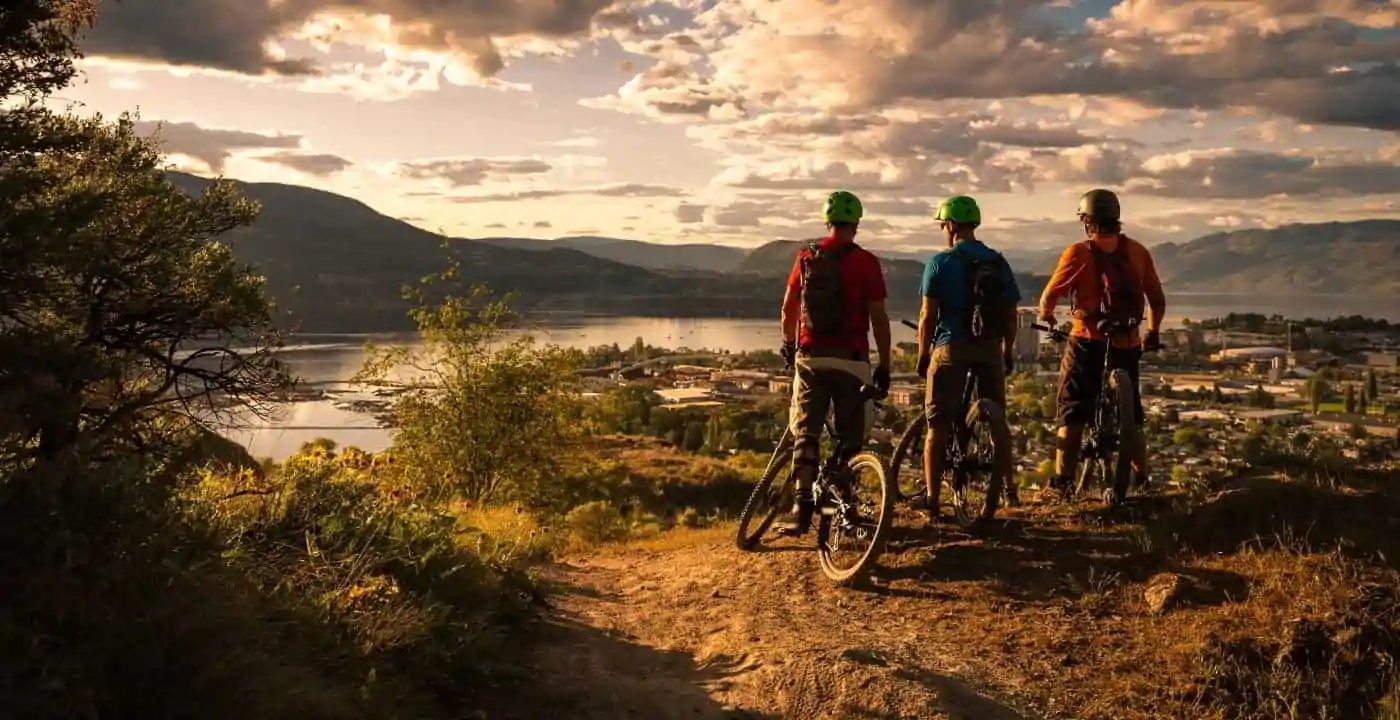
This isn’t absolutely crucial for more experienced riders, but for beginners or riders who haven’t been riding a long time, make sure to go out in a group or with a friend. Not only does it mean you have someone to call upon in an emergency, but you can also learn skills from a rider who potentially may be more experienced. It’s a safe way to start out.
Check the Weather and Understand Your Environment
Check the weather forecast for the area you’re riding and prepare appropriately – sun cream? Warm clothing? Waterproofs? Enough water on a hot day, etc. If there are weather warnings in place for seriously bad weather, potentially don’t go out at all or have a plan in place for a shortcut home or to get to a point of safety easily.
Final Thoughts
That may sound like a lot, but e-MTB safety actually becomes part of your daily riding routine after a short while. You’re stepping into a wonderful sport, one which takes you to stunning and often remote parts of the globe.
Look after yourself, your bike and prepare accordingly for all eventualities. These simple steps will not only protect you on a ride, but it will improve your overall riding experience, so you leave with a smile on your face and want to get out there again and again. You now know what to do, so get out there and get spinning!


